Upgrading Your UTV Audio: Tips and Tricks
- stereotypecustomau
- Dec 1, 2025
- 3 min read
When it comes to enhancing your outdoor adventures, upgrading your UTV audio system can make a huge difference. Whether you’re cruising through rugged trails or relaxing at the campsite, having quality sound elevates the entire experience. This guide will walk you through practical tips and tricks to help you get the most out of your UTV audio upgrades.
Understanding the Basics of UTV Audio Upgrades
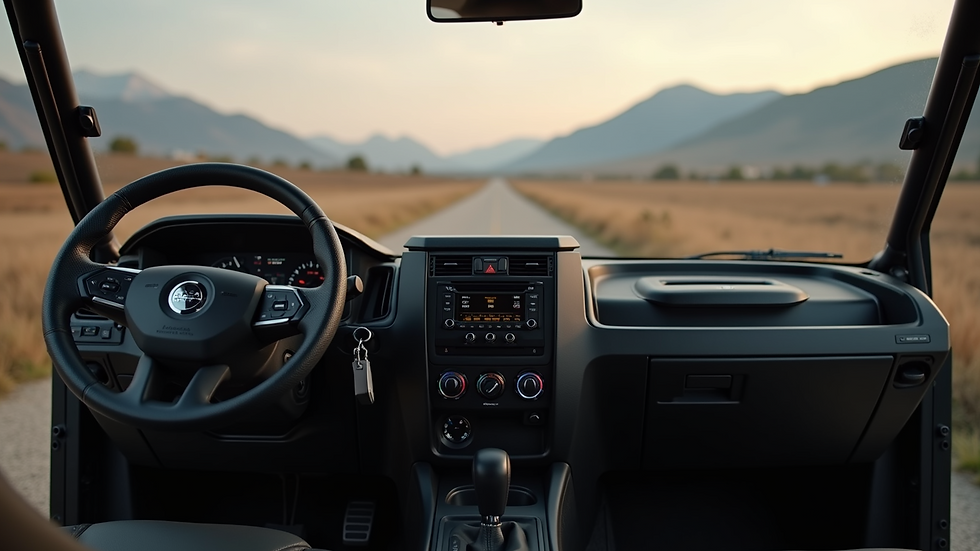
Before diving into the installation process, it’s important to understand the components involved in a UTV audio upgrade. A typical system includes speakers, amplifiers, head units, and wiring. Each part plays a crucial role in delivering clear, powerful sound.
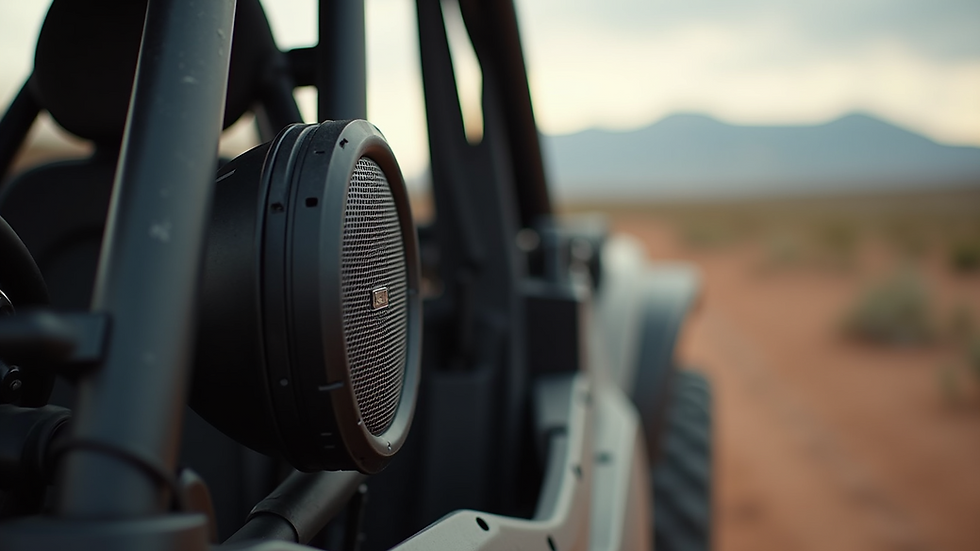
Speakers: Look for weatherproof and durable speakers designed specifically for off-road use. They should withstand dust, water, and vibrations.
Amplifiers: These boost the audio signal, providing better sound quality and volume.
Head Units: The control center for your audio system, often featuring Bluetooth connectivity and USB ports.
Wiring and Mounts: Proper wiring ensures safety and performance, while mounts keep your equipment secure during bumpy rides.
Choosing components designed for UTVs ensures longevity and optimal performance.

Key Considerations for UTV Audio Upgrades
When planning your UTV audio upgrades, consider the following factors to ensure a successful installation:
Power Source
UTVs have limited electrical capacity. Check your vehicle’s battery and alternator to ensure they can handle the additional load. You might need a secondary battery or a power management system.
Sound Quality vs. Volume
Decide whether you prioritize crisp sound or loud volume. High-quality speakers and amplifiers can deliver both, but budget and space constraints may require compromises.
Weather Resistance
Since UTVs are exposed to the elements, all audio components should be rated for water and dust resistance. Look for IP ratings to gauge protection levels.
Installation Location
Plan where to mount speakers and components. Common spots include the roll cage, dashboard, or rear cargo area. Ensure mounts don’t interfere with vehicle operation or safety.
Control Accessibility
Choose a head unit or remote control that’s easy to reach and operate while driving.
Step-by-Step Guide to Installing Your UTV Audio System
Upgrading your UTV audio system can be a DIY project if you follow these steps carefully:
Step 1: Gather Your Tools and Components
Make sure you have all necessary parts, including speakers, amplifier, head unit, wiring kit, mounting brackets, and tools like screwdrivers, wire strippers, and a drill.
Step 2: Disconnect the Battery
Safety first. Disconnect the UTV battery to avoid electrical shorts during installation.
Step 3: Mount the Speakers
Attach the speakers to your chosen locations using weatherproof mounts. Ensure they are secure and angled for optimal sound projection.
Step 4: Install the Amplifier and Head Unit
Find a dry, accessible spot for the amplifier and head unit. Use mounting brackets and secure wiring to prevent damage.
Step 5: Run the Wiring
Route wires carefully, avoiding moving parts and heat sources. Use zip ties and protective sleeves to keep wiring neat and safe.
Step 6: Connect to Power and Test
Reconnect the battery and test the system. Adjust settings on the head unit and amplifier for the best sound quality.
Step 7: Finalize Installation
Once satisfied, secure all components and tidy up wiring. Double-check all connections and mounts.
Enhancing Your UTV Audio Experience with Accessories
Beyond the basic components, several accessories can improve your UTV audio system:
Bluetooth Adapters: Enable wireless streaming from your phone or other devices.
Remote Controls: Allow easy volume and track changes without reaching the head unit.
Sound Bars: Provide powerful sound in a compact, rugged design.
Subwoofers: Add deep bass for a richer audio experience.
Noise-Cancelling Enclosures: Reduce wind and engine noise to improve sound clarity.
These accessories can be tailored to your preferences and budget, making your UTV audio system truly personalized.
Maintaining Your UTV Audio System for Longevity
To keep your upgraded audio system performing well, regular maintenance is key:
Clean Components: Wipe down speakers and head units to remove dust and debris.
Check Wiring: Inspect for wear or loose connections, especially after rough rides.
Protect from Moisture: Use covers or enclosures when the UTV is parked in wet conditions.
Update Firmware: If your head unit supports updates, keep the software current for best performance.
Proper care will extend the life of your investment and ensure consistent sound quality.
Explore More About UTV Audio Upgrades
For those looking to dive deeper into the world of UTV audio, exploring specialized providers can offer tailored solutions. Companies like Stereotype Custom Audio provide expert advice and high-quality products designed specifically for off-road vehicles. Their expertise can help you select the perfect components and accessories for your setup.
Upgrading your UTV audio system is a rewarding project that enhances every ride. With the right planning, components, and care, you can enjoy crystal-clear sound no matter where your adventures take you.


Comments